Add a new model
Use these instructions to create a new model in the View/Add Models dialog in the Transfer to Financial Planning utility. You can add up to 15 new models.
Models in the View/Add Models utility come from the Model table for your current File Group year. For example, if you are working on your 2020 File Group, then the models come from, and new models are saved to, the MODEL2020 table.
To add a new model:
- If the View/Add Models dialog is not currently open, then in the Models & Node Selections page of the Transfer to Financial Planning utility, on the right just above the table, click View Existing Models or Add New Model.
-
In the View/Add Models dialog, in the upper right, click Add New Model.
A new model row is added to the Model data and information table:
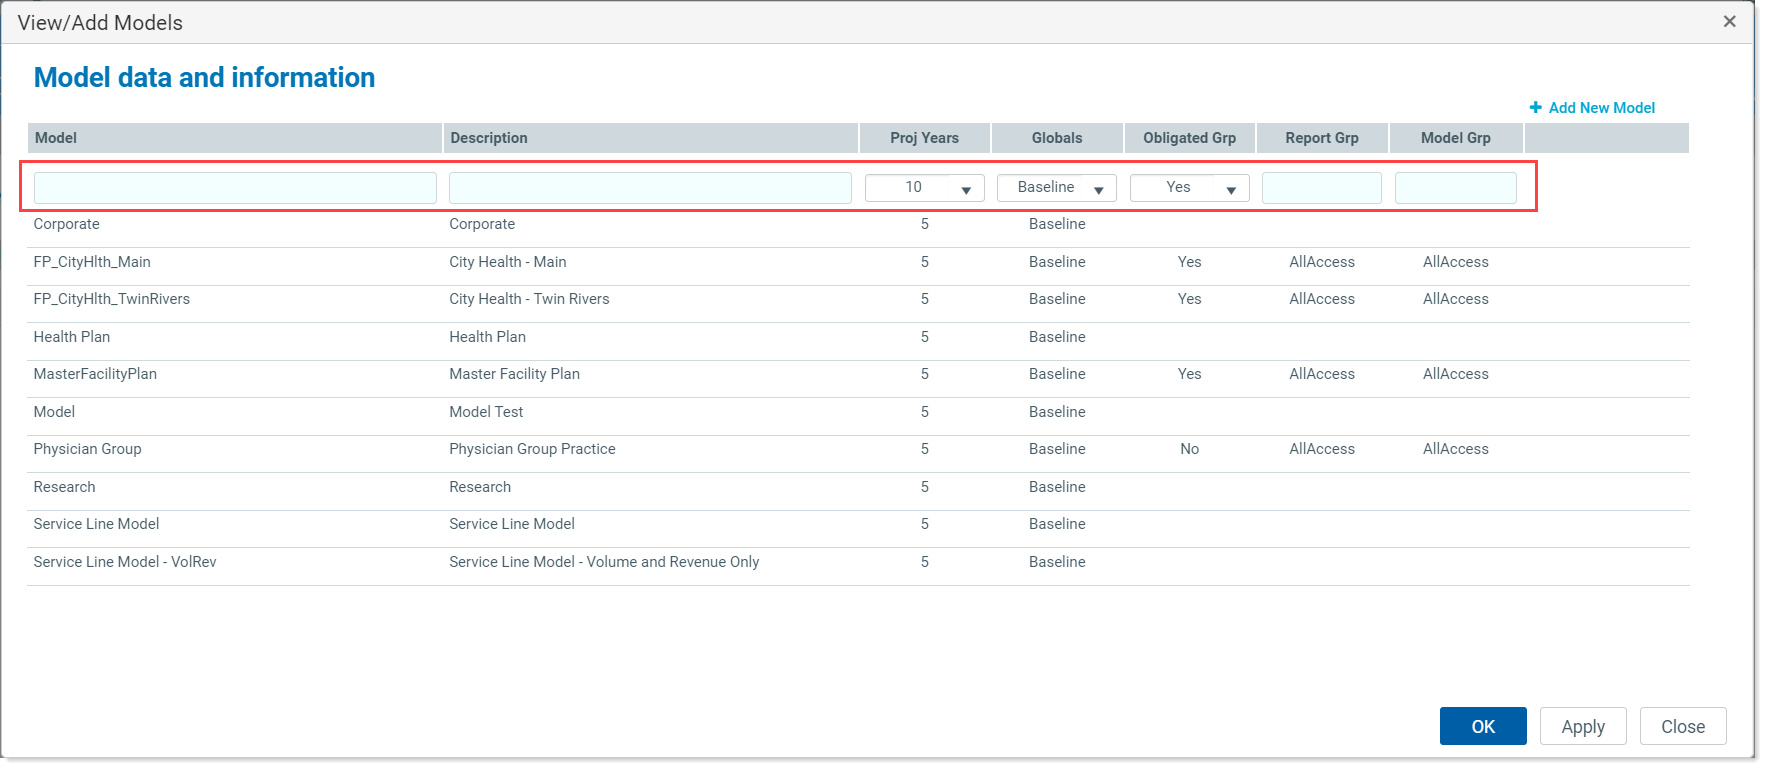
- Work your way across the row, completing the fields as needed:
- In the Model column, type a name for the model (required).
- In the Description field, type a description (recommended).
- (Optional) The Proj Years, Globals, and Obligated Grp fields populate with defaults, but you can change them if desired.
- (Optional) To assign a report group, in the Report Grp field, type the name of the report group.
- (Optional) In the Model Grp field, type the name of the model group the model belongs to.
- Do one of the following:
- To add another model, click Apply and then repeat steps 2 through 4.
- Click OK to save and close the model utility.
The new model appears in alphabetical order in the Model column drop-down list.
